A Step-by-Step Guide to HostGator Website Migration
Migrating your website to HostGator is a straightforward process when done correctly. Whether you’re switching hosts or consolidating your web presence, HostGator offers tools and support to ensure a smooth transition. This guide walks you through the steps of migrating your website to HostGator.

Step 1: Evaluate Your Hosting Plan
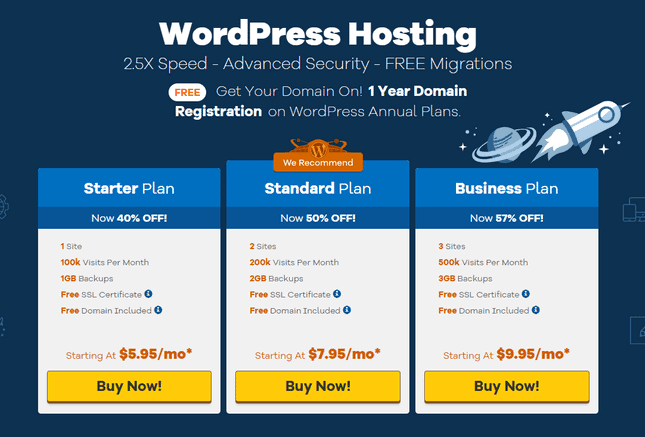
Before initiating the migration, ensure you have an appropriate HostGator hosting plan that supports your website’s requirements. For most users, the Shared Hosting or WordPress Hosting plans are sufficient. However, for high-traffic or resource-intensive websites, consider VPS or Dedicated Hosting.
- Check the features and limitations of your plan.
- Verify that your plan includes free migration services (available with many HostGator plans).
Step 2: Backup Your Existing Website
Creating a full backup of your current website is essential to protect your data during the migration process.
- Log in to your current hosting provider’s control panel.
- Use tools like cPanel Backup Wizard or a plugin (for WordPress users) to download a complete backup of your site, including databases and files.
- Store the backup securely on your local device or cloud storage.
Step 3: Initiate the Migration Request
If you’re eligible for free migration, HostGator can handle the migration for you. Here’s how to request it:
- Log in to your HostGator Customer Portal.
- Navigate to the Support tab and click on Migration Requests.
- Fill out the migration form with details about your current host, login credentials, and the website you want to transfer.
- Submit the request and wait for confirmation from the HostGator team.
Step 4: Manual Migration (Optional)
If you prefer to migrate manually, follow these steps:
- Transfer Files:
- Use an FTP client like FileZilla to download your website files from your current host.
- Upload these files to the appropriate directory on your HostGator account. Typically, this is the
public_htmlfolder.
- Migrate Databases:
- Export your website’s database from your current host using phpMyAdmin.
- Import the database into your HostGator account via phpMyAdmin or the MySQL Database Wizard in cPanel.
- Update Configuration Files:
- Edit your site’s configuration files (e.g.,
wp-config.phpfor WordPress) to reflect the new database credentials. - Save and upload the updated file to your HostGator server.
- Edit your site’s configuration files (e.g.,
Step 5: Update DNS Settings

Pointing your domain name to HostGator is the final step in the migration process.
- Locate your HostGator nameservers in the Welcome Email or Customer Portal.
- Log in to your domain registrar account (e.g., GoDaddy, Namecheap).
- Update the nameservers to HostGator’s (e.g.,
ns1.hostgator.comandns2.hostgator.com).
Note that DNS propagation may take up to 48 hours, during which your website may experience temporary downtime.
Step 6: Test Your Website
After the migration is complete, thoroughly test your website to ensure everything is working correctly.
- Check all pages, links, and forms for functionality.
- Test website speed and performance on the new host.
- Monitor for any error messages or missing files.
Step 7: Optimize and Finalize
Once you’ve confirmed the migration’s success:
- Enable caching or a content delivery network (CDN) for improved performance.
- Set up security measures like SSL certificates, which HostGator provides for free with many plans.
- Regularly monitor your website to ensure continued smooth operation.
Tips for a Smooth Migration
- Timing: Schedule your migration during low-traffic periods to minimize the impact on visitors.
- Communication: Inform your audience about potential downtime.
- Support: Take advantage of HostGator’s 24/7 customer support for any migration-related issues. How to Manage Your HostGator Billing and Payments
Conclusion
Migrating your website to HostGator is a manageable process with the right preparation. Whether you rely on HostGator’s migration services or handle the transfer yourself, following these steps will ensure a successful transition. With your website hosted on HostGator, you can enjoy reliable performance, robust features, and exceptional support.


